WordPress is one of the most used CMS available in the market that is used for any type of website ranging from blogs, websites, e-commerce apps. What you get from WordPress is the ability to have various design, templates and functionalities and the ability to highly customise your website/ apps.
WordPress stands at the top because of it’s ability to customise almost in every aspect. Here in this post, we will discuss about how to create a Custom Post Type in WordPress.
You may want to read : How to Create Custom Fields in WordPress
There are two ways to create a Custom Post Type.
1 – By using Plugins like CPT UI, and others
2 – By creating it manually
Let’s look at how to create a Custom Post Type using CPT UI plugin.
Custom Post Type using CPT UI

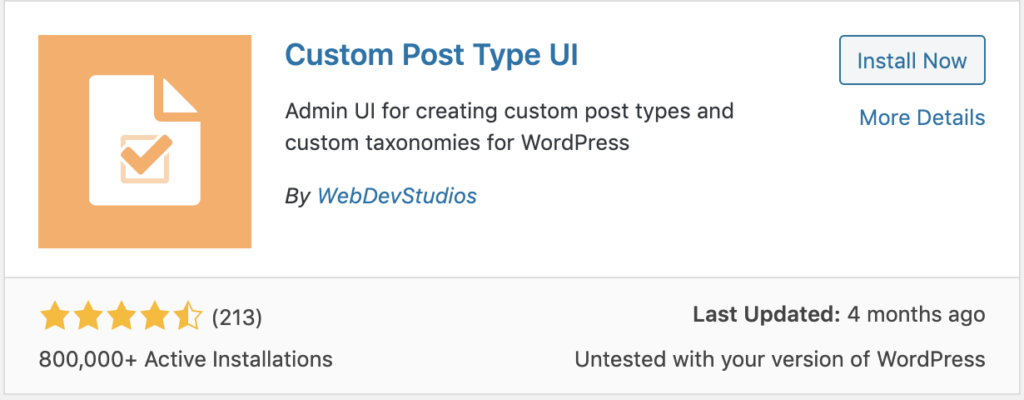
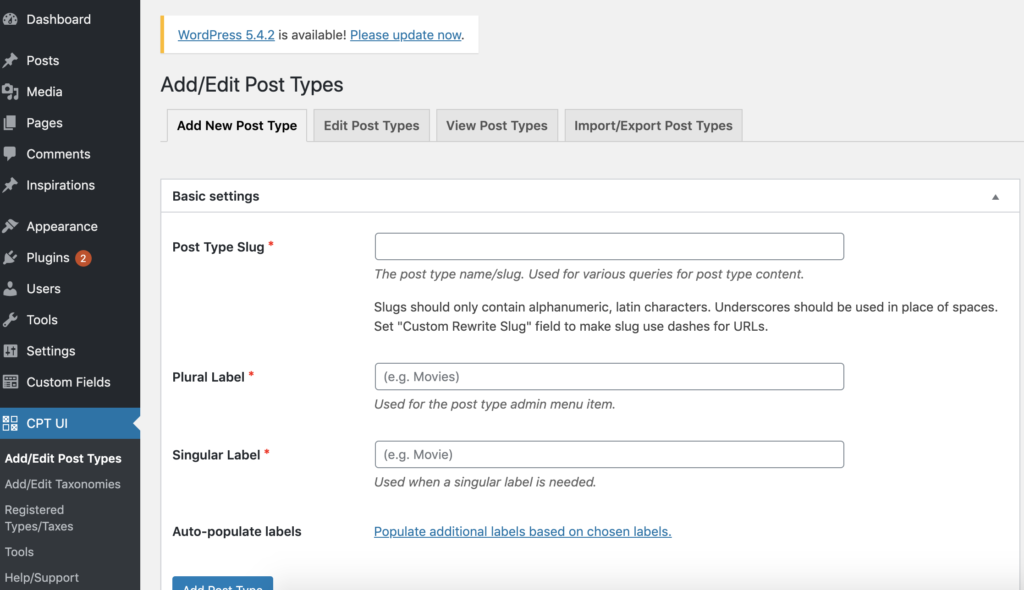
You will have to search for “CPT UI” in the Add Plugin Listing Page. This will probably list you many results along with the Custom Post Type UI By WebDevStudios. After installing this plugin, you will see the CPT UI menu in the left navigation bar.

What you will do next is self explanatory to add the Post Type Slug, Labels and other information in the Additional Labels Section. The Post Type Slug is the slug value that you will see for the Custom Post that you create.
For example, if you create a slug ‘cpt_inspirations’, your Custom Post Type page would have the url like below.
https://www.your-domain.com/wp-admin/edit.php?post_type=cpt_inspirationsNote that this Post Type Slug should be unique and should not be of any default WP slug or any of the other custom post type slug.
The created Post Type will have all the default form fields that come with the WordPress Type Posts/ Pages.
Manually creating the Custom Post Type
If you look at what this plugin does, is basically gives you the ability to create Custom Post Types dynamically that generates the code for the type that you create and much more.
If you are looking for a way to create a specific Custom Post Type, with most of the functionalities but for one custom post type, you can follow this manual approach of writing the piece of code below in your theme functions.php file. If you are following this, you may have to copy paste and modify this code to create multiple custom post types.
function cptui_register_cpt_inspirations() {

	/**
	 * Post Type: Inspirations.
	 */

	$labels = [
		"name" => __( "Inspirations", "your_theme_name" ),
		"singular_name" => __( "Inspirations", "your_theme_name" ),
	];

	$args = [
		"label" => __( "Inspirations", "your_theme_name" ),
		"labels" => $labels,
		"description" => "",
		"public" => true,
		"publicly_queryable" => true,
		"show_ui" => true,
		"show_in_rest" => true,
		"rest_base" => "",
		"rest_controller_class" => "WP_REST_Posts_Controller",
		"has_archive" => false,
		"show_in_menu" => true,
		"show_in_nav_menus" => true,
		"delete_with_user" => false,
		"exclude_from_search" => false,
		"capability_type" => "post",
		"map_meta_cap" => true,
		"hierarchical" => false,
		"rewrite" => [ "slug" => "inspirations", "with_front" => true ],
		"query_var" => true,
		"supports" => [ "title", "editor", "thumbnail", "excerpt", "trackbacks", "custom-fields", "comments", "revisions", "author", "page-attributes", "post-formats" ],
	];

	register_post_type( "cpt_inspirations", $args );
}

add_action( 'init', 'cptui_register_cpt_inspirations' );
rewrite argument in the above is the slug url that you want to have when you visit the page in the WP Front.
Your Custom Post Type Post/Page will have a url similar to below.
https://www.your-domain.com/inspirations/your-post-slug-urlFollow the above register_post_type() function from WordPress for reference to have many available options while creating the Custom Post Type.
Let me know in comments if you had any difficulty in creating the Custom Post Type following this blog post and we can look into it.
Photo by Ilya Pavlov on Unsplash


1 thought on “How to Create Custom Post Type in WordPress”